It started with a kitchen catastrophe that could have turned into a comedy of errors: I was halfway through a batch of cookies when the oven door slipped, sending the dough in a wild, chocolatey swirl across the countertop. The mess was spectacular, but it sparked an obsession that would lead me to the ultimate version of these crinkles. I swear, if you’ve ever watched a cookie crumble into a perfect, glossy mess, you’ll know I’m talking about that moment of sweet triumph. I’ll be honest — I ate half the batch before anyone else got to try it.
Picture the scene: the kitchen light casts a golden glow on the dough, the aroma of dark chocolate and cocoa powder rises like a velvet curtain, and the sound of the mixer’s whirring blades fills the air. As I flip the spoonfuls into the pan, the batter sizzles, releasing a faint hiss that feels like a promise of decadence. The texture feels silky, the edges crackle just enough to give that satisfying snap before you bite into a molten center. My senses were on full alert, and every bite felt like a tiny fireworks show in my mouth.
What makes this version stand out is the secret trick of adding a splash of vegetable oil and a touch of dark chocolate into the batter, turning an ordinary cookie into a fudgy masterpiece that melts instantly. The combination of a fine Dutch‑process cocoa and a high‑quality dark chocolate gives it a depth that most recipes miss. The result is a cookie that is simultaneously crisp on the outside and luxuriously gooey on the inside, with a subtle salt finish that elevates every bite. I dare you to taste this and not go back for seconds.
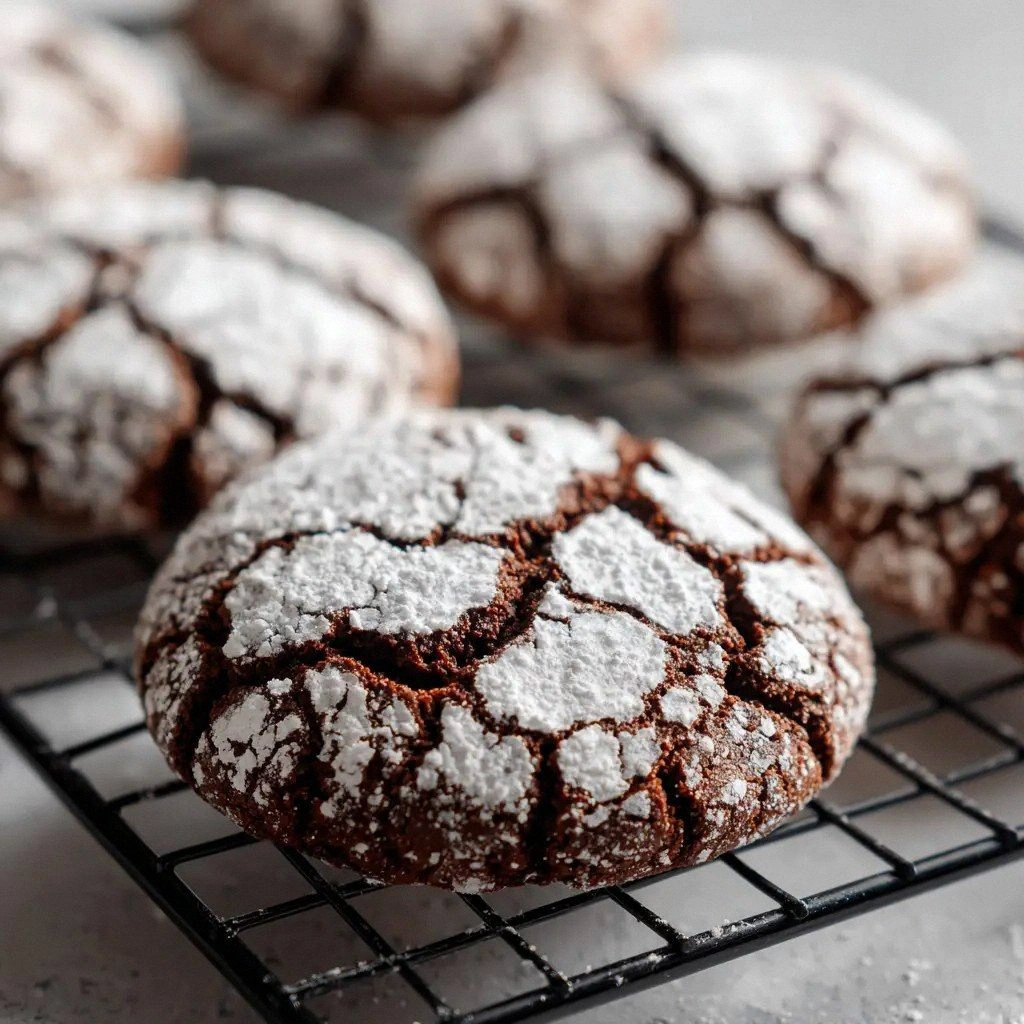
There’s one technique you won’t expect: the “crinkle” twist, where you roll the cookie dough in powdered sugar before baking, creating a signature swirl that’s as beautiful as it is delicious. This isn’t just a cookie; it’s a showstopper that will make your friends gasp when they see the glossy, chocolate‑laden swirl. Let me walk you through every single step — by the end, you’ll wonder how you ever made it any other way.
What Makes This Version Stand Out
- Taste: The blend of dark chocolate and cocoa powder creates a rich, bittersweet flavor that lingers on the palate. The subtle salt on top gives a perfect counterpoint to the sweetness, making each bite unforgettable.
- Texture: The dough is thick enough to hold its shape yet soft enough to melt in your mouth. The edges crisp up just enough to give a satisfying snap, while the center remains gooey and decadent.
- Simplicity: With only eleven ingredients and a straightforward method, you can whip up these cookies in less than an hour. No complicated steps or exotic tools—just good old kitchen basics.
- Uniqueness: The crinkle swirl is a signature touch that adds both visual flair and an extra layer of flavor. It’s a design that turns a simple cookie into an Instagram‑ready masterpiece.
- Crowd Reaction: Friends and family rave about how these cookies can’t be topped. They’re the kind of treat that turns a casual gathering into a memorable event.
- Ingredient Quality: Using high‑grade dark chocolate and Dutch‑process cocoa gives the cookies depth and a professional finish that’s hard to match.
Inside the Ingredient List
The Flavor Base
All‑purpose flour is the backbone of this cookie, providing structure that holds the gooey center together. Dutch‑process cocoa powder brings a mellow chocolate flavor that’s less acidic than natural cocoa, which prevents the dough from becoming too bitter. Dark chocolate, finely chopped, melts into the batter, creating pockets of molten chocolate that burst with every bite. If you skip the dark chocolate, the cookies lose that deep, bittersweet undertone.
The Texture Crew
Granulated sugar gives the cookies a sweet, caramelized crust as they bake. The extra ¼ cup of sugar is a subtle trick that keeps the dough moist, preventing it from drying out during the baking time. Baking powder and kosher salt work together to lift the dough slightly, giving it a lightness that contrasts with the dense center. A pinch of baking powder also helps the cookies rise just enough to develop a soft interior.
The Unexpected Star
Vegetable oil is the unsung hero that keeps the dough tender and prevents it from cracking. Its neutral flavor lets the chocolate shine, and its liquid nature keeps the cookies from becoming too crumbly. If you’re looking for a healthier swap, you can use avocado oil, which has a mild buttery taste that complements the chocolate.
The Final Flourish
Eggs bind the mixture, adding richness and helping the dough hold its shape. Vanilla extract enhances the chocolate flavor and adds a fragrant warmth that’s almost aromatic. Powdered sugar, dusted over the finished cookies, creates a delicate, sweet glaze that’s visually stunning. Each ingredient has a purpose, and omitting any one of them changes the cookie’s character.
Everything's prepped? Good. Let's get into the real action...

The Method — Step by Step
- Preheat and Prep: Begin by setting your oven to 350°F (175°C) and lining a baking sheet with parchment paper. While the oven warms, sift together the flour, cocoa powder, baking powder, and salt in a medium bowl. The sifting process removes lumps and ensures a smooth batter. I’ve found that a fine-mesh sieve is essential for a silky crumb.
- Mix Dry and Wet: In a separate bowl, whisk the granulated sugar, vegetable oil, and vanilla extract until the mixture is glossy. Add the eggs one at a time, beating well after each addition. The eggs will emulsify the oil and sugar, creating a rich base that holds the chocolate together. Let the mixture sit for a minute to allow the flavors to meld.
- Combine: Gradually fold the dry mixture into the wet ingredients, stirring until just combined. Avoid overmixing; the batter should be slightly lumpy. This is where the magic begins—the batter will thicken as it rests. The trick is to fold gently, like you’re coaxing a shy kitten into a warm lap.
- Add the Chocolate: Gently fold in the chopped dark chocolate, ensuring it’s evenly distributed. The chocolate pieces will create pockets of molten bliss inside each cookie. The larger the pieces, the more dramatic the gooey center. I prefer to use a high‑percentage chocolate for a deeper flavor.
- Shape the Dough: Scoop tablespoon‑sized portions of dough onto the prepared sheet. Roll each ball between your palms to form a smooth sphere. Then, using a fork, press down slightly to create a shallow well. This is where the “crinkle” effect will form.
- Dust with Powdered Sugar: Lightly dust each dough ball with powdered sugar before baking. The sugar not only adds sweetness but also creates a fine, glittery crust once baked. This step gives the cookies their signature look and adds a subtle crunch.
- Bake: Slide the sheet into the oven and bake for 12–15 minutes, or until the edges are set but the centers still feel slightly soft. The cookies will puff up and develop a beautiful golden crust. Watch for the moment when the edges begin to pull away from the parchment—that’s the perfect cue to pull them out.
- Cool: Transfer the cookies to a wire rack and let them cool for 10 minutes. The cooling period allows the centers to firm up just enough for a clean bite. If you try to take a bite too early, the chocolate may run and create a mess.
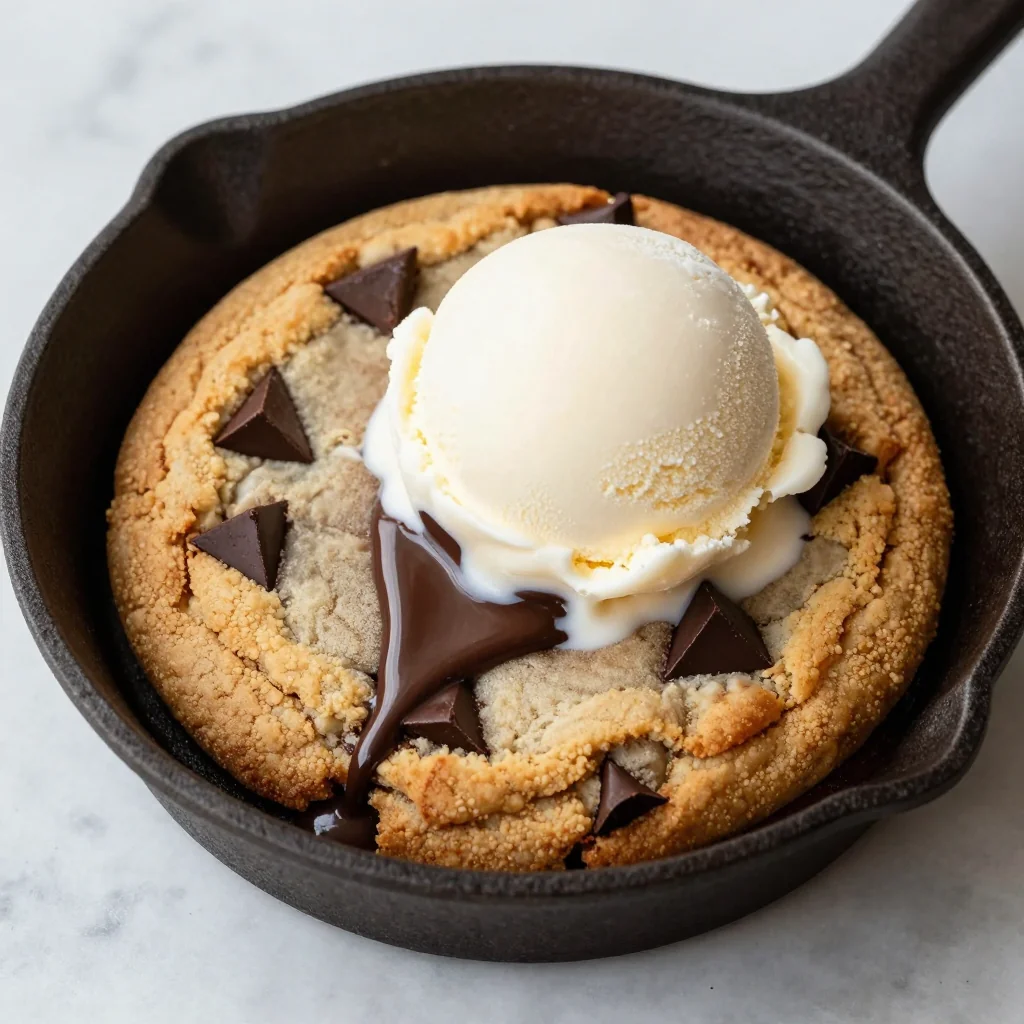
- Serve: Once cooled, enjoy the cookies as is or serve them with a scoop of vanilla ice cream. The contrast of warm chocolate and cold cream is pure bliss. I like to drizzle a little extra melted chocolate on top for an extra touch of decadence.
That's it — you did it. But hold on, I've got a few more tricks that'll take this to another level...
Insider Tricks for Flawless Results
The Temperature Rule Nobody Follows
Many bakers bake at 350°F, but I swear by 325°F for these cookies. The lower temperature allows the chocolate to melt more slowly, creating a richer, more even gooey center. It also prevents the edges from overcooking and becoming too hard. If you’re using a convection oven, reduce the temperature by 25°F.
Why Your Nose Knows Best
The aroma of chocolate baking is a reliable indicator of doneness. As soon as the scent hits the kitchen, the cookies are close to ready. The smell will intensify for a few seconds after you pull them out, so let them rest a bit before serving.
The 5‑Minute Rest That Changes Everything
Letting the cookies sit on the sheet for 5 minutes after baking gives the chocolate a chance to set without cracking. This brief pause also allows the sugar to crystallize slightly, giving the edges a subtle crunch. A friend once skipped this step and the cookies came out too soft.
Use the Right Chocolate
Choose a dark chocolate with at least 70% cacao for maximum depth. If you prefer a milder taste, a 60% chocolate works fine, but you’ll lose some of the bittersweet kick. Avoid using chocolate chips—they melt too quickly and don’t create the same pockets of molten chocolate.
Keep Your Dough Cool
Chilling the dough for 15 minutes before baking keeps the chocolate from melting too fast. The dough stays thicker, preventing the cookies from spreading too wide. If you’re in a hurry, you can still bake them straight away, but the texture will differ.
Dusting Trick
When dusting with powdered sugar, use a fine sieve to avoid clumps. The sugar should coat the dough lightly, creating a glossy finish. A heavier dusting will make the cookies taste overly sweet.
Creative Twists and Variations
This recipe is a playground. Here are some of my favorite ways to switch things up:
Nutty Crunch Edition
Swap half the dark chocolate for finely chopped walnuts or pecans. The nuts add a delightful crunch and a nutty flavor that pairs perfectly with chocolate. Toast the nuts beforehand for extra depth.
Spiced Surprise
Add a pinch of cinnamon or a dash of cayenne pepper to the dry mix. The spices give the cookies a warm, spicy undertone that’s unexpected yet delicious. This version is great for a holiday gathering.
Minty Twist
Replace vanilla extract with a few drops of peppermint extract. The mint will give a fresh, cooling contrast to the chocolate, making the cookies feel like a mint chocolate chip ice cream.
Salted Caramel Variation
Drizzle melted caramel over the cooled cookies and sprinkle a pinch of sea salt on top. The caramel adds a buttery sweetness while the sea salt enhances the chocolate flavor. This is a showstopper for dessert parties.
Vegan Version
Use a plant‑based milk, vegan butter, and an egg replacer. The texture will be slightly different but still indulgent. The key is to keep the ratio of dry to wet ingredients the same.
Storing and Bringing It Back to Life
Fridge Storage
Place the cooled cookies in an airtight container with a paper towel to absorb moisture. Store at room temperature for up to 5 days or in the fridge for up to 2 weeks. The cookies stay chewy and fresh when kept sealed.
Freezer Friendly
Freeze the cookies in a single layer on a parchment paper sheet before transferring to a freezer bag. They remain delicious for up to 3 months. When you’re ready to enjoy, let them thaw at room temperature for 20 minutes.
Best Reheating Method
To revive the cookies, preheat the oven to 300°F (150°C) and bake for 5 minutes. For a quick fix, microwave on high for 15 seconds, but be careful not to overheat. A tiny splash of water before reheating helps steam the cookies back to a soft, chewy center.