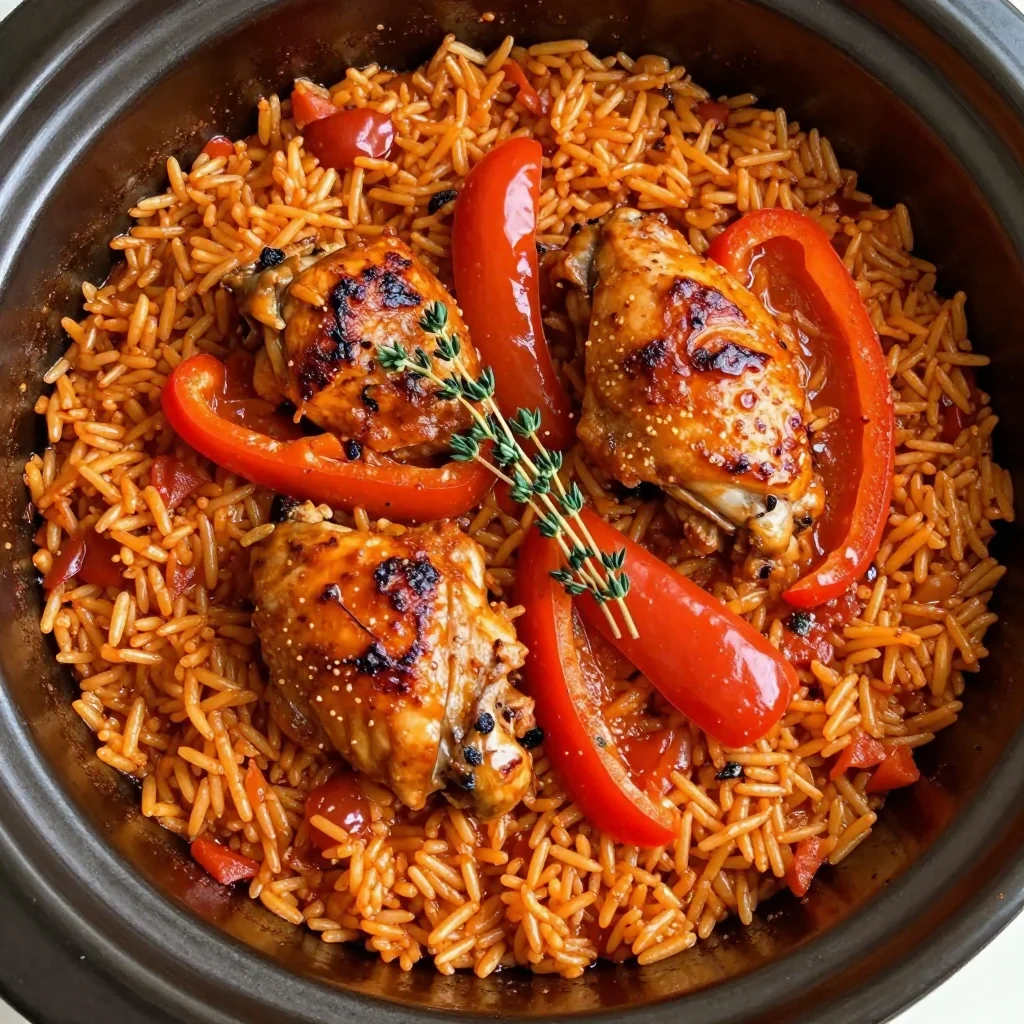
I was in the middle of a frantic weekday dinner scramble when my roommate dared me to make something that would “wow the whole crew and still be on the table before the next episode ends.” I laughed, grabbed the chicken I had half‑frozen in the freezer, and thought, “What if I could get that sweet‑and‑savory glaze you love from take‑out, but with a crunch that shatters like thin ice when you bite into it?” The kitchen erupted with the sound of garlic hitting a hot pan, the air filled with a honey‑laden perfume that made my stomach growl louder than a freight train, and I could already picture the glossy sauce clinging to the chicken like a caramelized coat of armor. That moment—when the sizzle turned into a full‑blown symphony—was the spark that ignited this recipe, and trust me, it’s the kind of spark that could set a whole dinner party ablaze.
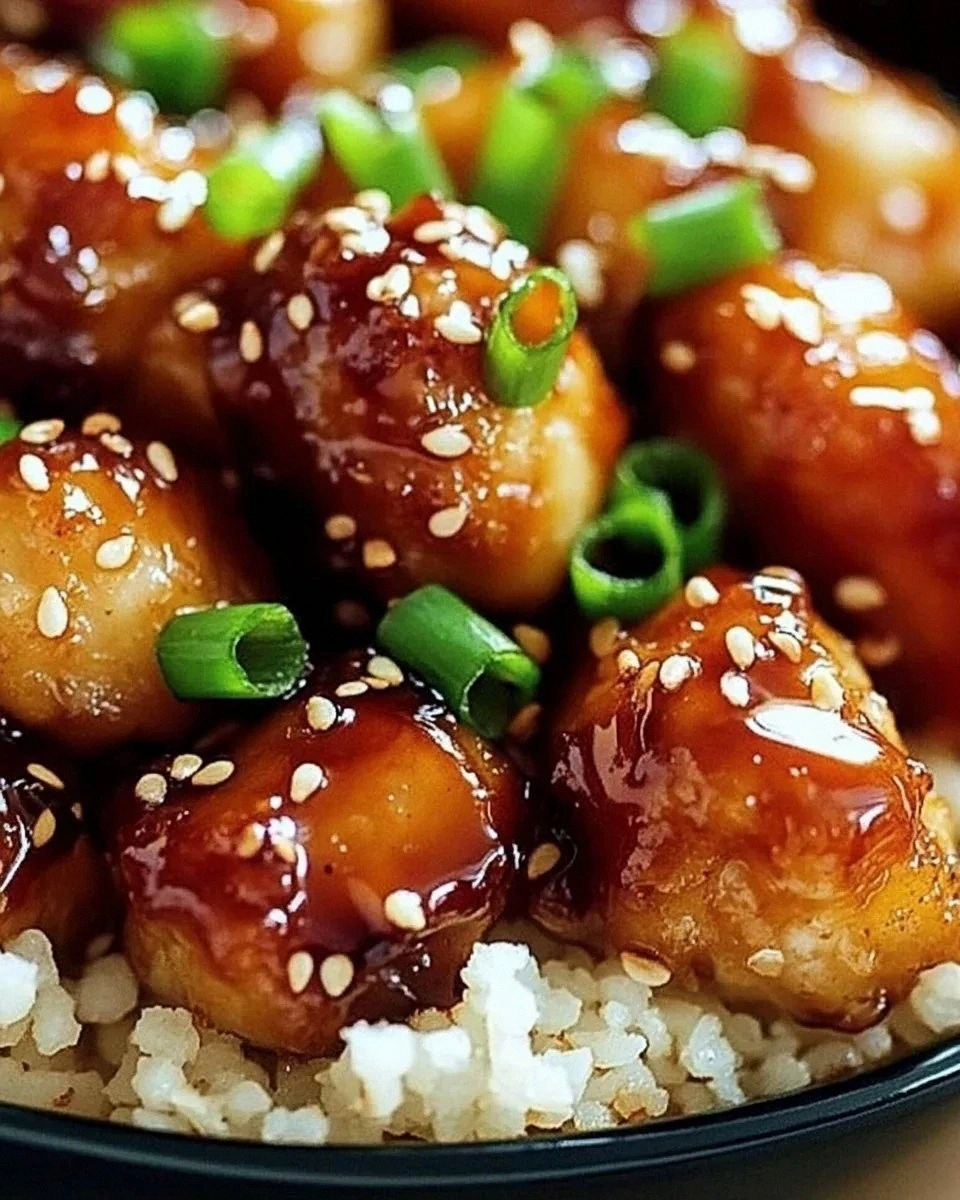
Fast forward a few minutes, and I was standing over a skillet that looked like a miniature fireworks display. The chicken pieces, dusted in a light veil of cornstarch, hit the oil and instantly puffed up, their edges turning a deep amber that promised a satisfying crunch. Meanwhile, the honey‑garlic sauce was simmering in a separate pan, bubbling gently, its aroma weaving together the sharp bite of garlic, the mellow sweetness of honey, and the umami punch of soy sauce. When the two worlds collided, the sauce thickened, glazed the chicken, and then—boom—those sesame seeds and green onions added a final pop of texture and color that made the dish look like it belonged on a glossy food‑magazine spread.
Most home‑cooked honey garlic chicken ends up soggy, sweet‑overwhelming, or just plain bland. I’ve tried recipes that call for endless marinating, or that demand a deep‑fried finish that leaves you with a greasy mess and a mountain of cleanup. This version flips the script: a quick dusting of cornstarch gives you that coveted crunch without deep‑frying, and the sauce is cooked just enough to caramelize without turning into a sticky glue trap. The secret? A splash of rice vinegar (or apple cider vinegar if you’re feeling adventurous) that cuts through the sweetness, a dash of sesame oil for that nutty depth, and a pinch of chili flakes that whisper heat without stealing the show.
I’m about to hand you the exact steps, the exact ratios, and a handful of pro‑tips that will make this the best version you’ll ever make at home. I dare you to taste this and not go back for seconds. Let me walk you through every single step — by the end, you’ll wonder how you ever made it any other way.
What Makes This Version Stand Out
- Crunch Factor: The cornstarch coating creates a light, airy crust that shatters like thin ice, delivering a satisfying snap with every bite.
- Balanced Sweet‑Heat: Honey provides natural sweetness, while chili flakes add a subtle, lingering heat that never overpowers.
- Speed: From prep to plate in under 30 minutes, this dish fits perfectly into a busy weeknight schedule.
- Ingredient Simplicity: Only pantry staples and a few fresh aromatics are needed—no exotic spices or hard‑to‑find sauces.
- Visual Appeal: The glossy glaze, speckled sesame seeds, and bright green onion ribbons make the plate pop like a fireworks show.
- Versatility: Perfect as a main, a topping for rice bowls, or even as a hearty sandwich filler.
- Make‑Ahead Friendly: You can prep the chicken and sauce ahead of time; a quick reheat restores the crunch.
- Family‑Approved: Kids love the sweet glaze, adults love the depth—this dish bridges generations.
Inside the Ingredient List
The Flavor Base
Garlic cloves are the backbone of this dish, delivering that unmistakable aromatic punch that makes your nose do a happy dance. When you crush them, you release allicin, the compound that adds a sharp, almost peppery note that balances the honey’s sweetness. If you’re out of fresh garlic, a teaspoon of garlic powder works, but you’ll miss the fresh bite that makes the sauce sing. Remember, the garlic should be minced finely enough to melt into the sauce, not left as large chunks that could burn.
The Texture Crew
Cornstarch is the unsung hero here—it creates that airy crust that turns golden in minutes. Think of it as the culinary equivalent of a light dusting of snow on a mountain peak; it’s barely there until the heat hits, then it expands into a crunchy shell. If you’re gluten‑free, cornstarch is already perfect, but you could swap in potato starch for an even lighter crunch. The vegetable oil is chosen for its high smoke point, ensuring the chicken crisps without smoking up the kitchen.
The Unexpected Star
A splash of rice vinegar (or apple cider vinegar) might sound like a strange addition to a sweet sauce, but it’s the secret that prevents the honey from turning into a cloying syrup. The acidity cuts through the sugar, brightening the flavor and giving the glaze a glossy finish that looks like liquid amber. If you love a tangier profile, add a touch more vinegar, but be careful not to overwhelm the honey.
The Final Flourish
Sesame seeds and green onions are the finishing touches that add texture, color, and a fresh bite. Toasted sesame seeds bring a nutty depth that echoes the sesame oil, while the green onions provide a crisp, slightly oniony crunch that cuts through the richness. If you’re allergic to sesame, try toasted pumpkin seeds for a similar crunch. For a pop of color, you can also sprinkle a few thinly sliced red chilies on top.
Everything’s prepped? Good. Let’s get into the real action…
The Method — Step by Step
Start by cutting the 1½ pounds of boneless chicken into bite‑size pieces. Pat them dry with paper towels, then toss them in a bowl with the 2 tablespoons of cornstarch, ensuring every piece is evenly coated. The cornstarch should cling like a light dusting of snow—if you see clumps, give it another shake. Power transition: Okay, ready for the game‑changer?
Heat a large non‑stick skillet over medium‑high heat and add the 2 tablespoons of vegetable oil. When the oil shimmers, gently lay the chicken pieces in a single layer, making sure not to overcrowd the pan. Let them sizzle undisturbed for about 2‑3 minutes; you’ll hear a satisfying crack that tells you the crust is forming.
Flip the chicken and cook the other side until golden brown, another 2‑3 minutes. At this point, the chicken should be crisp on the outside but still juicy inside—think of a perfect handshake, firm yet friendly. Remove the chicken onto a plate lined with paper towels to drain excess oil.
Kitchen Hack: Keep the skillet hot; a cold pan will steam the chicken and ruin the crunch.In the same skillet (wipe out any burnt bits), lower the heat to medium and add the minced 4 garlic cloves. Sauté for about 30 seconds until fragrant—watch out for the garlic turning brown; that’s the “Watch Out” moment where bitterness can creep in.
Stir in the ⅓ cup honey, ¼ cup low‑sodium soy sauce, and 2 tablespoons of rice vinegar (or apple cider vinegar). Let the mixture bubble gently, stirring constantly. You’ll notice the sauce thickening and turning a rich amber; this is the moment of truth where the flavors meld into a silky glaze.
Add 1 teaspoon of sesame oil and ½ teaspoon of chili flakes. The sesame oil adds a nutty depth, while the chili flakes give a whisper of heat that makes the palate tingle. If you prefer less spice, reduce the flakes by half; if you love heat, feel free to double them.
Return the crispy chicken to the skillet, tossing it gently to coat every piece in the glossy sauce. The sauce should cling to the chicken like a caramel coat—if it looks too runny, let it simmer for another minute; if it’s too thick, add a splash of water or chicken broth.
Finish by sprinkling a generous handful of toasted sesame seeds and the sliced green onions over the top. The sesame seeds should be lightly golden, and the green onions bright green, providing that final visual pop. Serve immediately over steamed rice, quinoa, or a bed of sautéed veggies. This next part? Pure magic. That sizzle when it hits the pan? Absolute perfection.
That’s it — you did it. But hold on, I’ve got a few more tricks that’ll take this to another level…
Insider Tricks for Flawless Results
The Temperature Rule Nobody Follows
Never start with a cold pan; preheat your skillet for at least a minute before adding oil. The high initial heat creates that instant sear, locking in juices while the cornstarch puff expands. I once tried a “slow‑start” method and ended up with soggy chicken that tasted like boiled meat. Trust the heat, and the crunch will follow.
Why Your Nose Knows Best
Your sense of smell is a better gauge than a timer when it comes to the sauce. When the honey‑soy mixture starts to emit a caramel scent and you see the edges pulling away from the pan, you’re at the perfect thickness. If you rely solely on minutes, you risk over‑reduction and a bitter finish. So, keep your nose close and your eyes peeled.
The 5‑Minute Rest That Changes Everything
After you’ve tossed the chicken in the glaze, let it sit for five minutes off the heat. This brief rest lets the coating set, preventing the sauce from sliding off when you serve. I once served it straight from the pan, and the glaze slid right off the plate—lesson learned. A short pause makes the dish look polished and taste richer.
Sauce Rescue Technique
If the sauce gets too thick, add a splash of low‑sodium chicken broth or water, one tablespoon at a time, while stirring. The liquid will loosen the glaze without diluting the flavor. This trick saved my dinner once when I accidentally turned the heat too high and the sauce turned into a caramel brick.
The “Dry‑Rub” Secret
Before dusting with cornstarch, rub the chicken pieces with a pinch of salt and pepper. The seasoning penetrates the meat, ensuring each bite is flavorful, not just the coating. I tried skipping this step once—let’s just say the chicken was bland and the crowd was not impressed.
Creative Twists and Variations
This recipe is a playground. Here are some of my favorite ways to switch things up:
Spicy Sriracha Kick
Add a tablespoon of sriracha to the sauce for a smoky heat that pairs beautifully with the honey’s sweetness. The bright red hue also makes the dish visually striking—perfect for Instagram.
Citrus Burst
Swap half of the soy sauce for orange juice and add a teaspoon of orange zest. The citrus lifts the glaze, giving it a fresh, tangy finish that’s great for summer evenings.
Nutty Crunch
Replace sesame seeds with crushed peanuts or cashews for a richer, buttery crunch. This variation works well when serving the chicken over a simple noodle salad.
Herb‑Infused
Stir in a tablespoon of freshly chopped cilantro or Thai basil right before serving. The herb adds a fragrant, slightly peppery note that brightens the whole dish.
Low‑Carb Swap
Use cauliflower rice as a base instead of regular rice, and swap honey for a low‑glycemic sweetener like erythritol (though the texture will be slightly different). This keeps the dish keto‑friendly without sacrificing flavor.
Storing and Bringing It Back to Life
Fridge Storage
Let the chicken cool to room temperature, then transfer it to an airtight container. It will keep for up to 3 days. When reheating, add a splash of water or broth and microwave on medium power, stirring halfway through to restore the glaze.
Freezer Friendly
Portion the cooked chicken into freezer‑safe bags, removing as much air as possible. It freezes well for up to 2 months. To reheat, thaw overnight in the fridge, then pan‑sear quickly on medium heat with a drizzle of oil—this revives the crispness.
Best Reheating Method
The secret to bringing back that crunch is a quick flash in a hot skillet. Add a teaspoon of oil, heat the pan until shimmering, then toss the chicken for 2‑3 minutes. The sauce will re‑glaze, and the edges will crackle again, as if you just cooked it fresh.